
Here's a tutorial on how I made the flower.

Here's how you make them:
You will need:
Felt
Thread
Glue gun
Brooch back pin
Cut out 6 circles - I did mine at a diameter of 90mm. The size you want your flower to be should be the size you make your circles. If you have a circle cutting die with a scalloped or decorative edge, this would be good to use. I cut my circles by hand as it was late and I couldn't be bothered to get up and find the dies! I cut around the edge using a pair of scalloped edge pinking shears.

Next fold 4 of the circles in half

and then in half again. I put a few stitches in the bottom to hold it together in this shape.

Now take one of the circles that you haven't folded and place each of the folded circles onto it.

You now need to stitch the folded circles down onto the main circle. I only stitched the sides at the bottom of each point, around 8mm each side, just to secure them in place. I did the same with each one but made sure to also sew them to each other in the same place and again around 8mm up from the middle point.

Lift up each bit of folded circle and on the underneath whole circle put alittle blob of hot glue and press the bottom layer of each folded circle and hold for a few seconds to allow it to stick. Do this on all four folded circles.
You are now ready to make the centre of the flower. Whoops sorry! I didn't take photos of this bit as I only decided to do a tutorial part of the way through!
Take the remaining circle and cut into it like a spiral - I've cut one out in card to show you what I mean.

Here's a pic of the pinking shears!! Fab aren't they!!

Ok back to the flower centre - start in the middle of your spiral and start rolling tightly until you reach the other end. You can add a few stitches underneath as you are going to help hold it together.

You should end up with something like this

You can now use your glue gun to stick this into the centre of your main flower, pressing down gently to make sure it has stuck well - you don't want to lose your flower middle when you are wearing your brooch!

Fluff up your flower to give it abit of body - from the side it should look like this

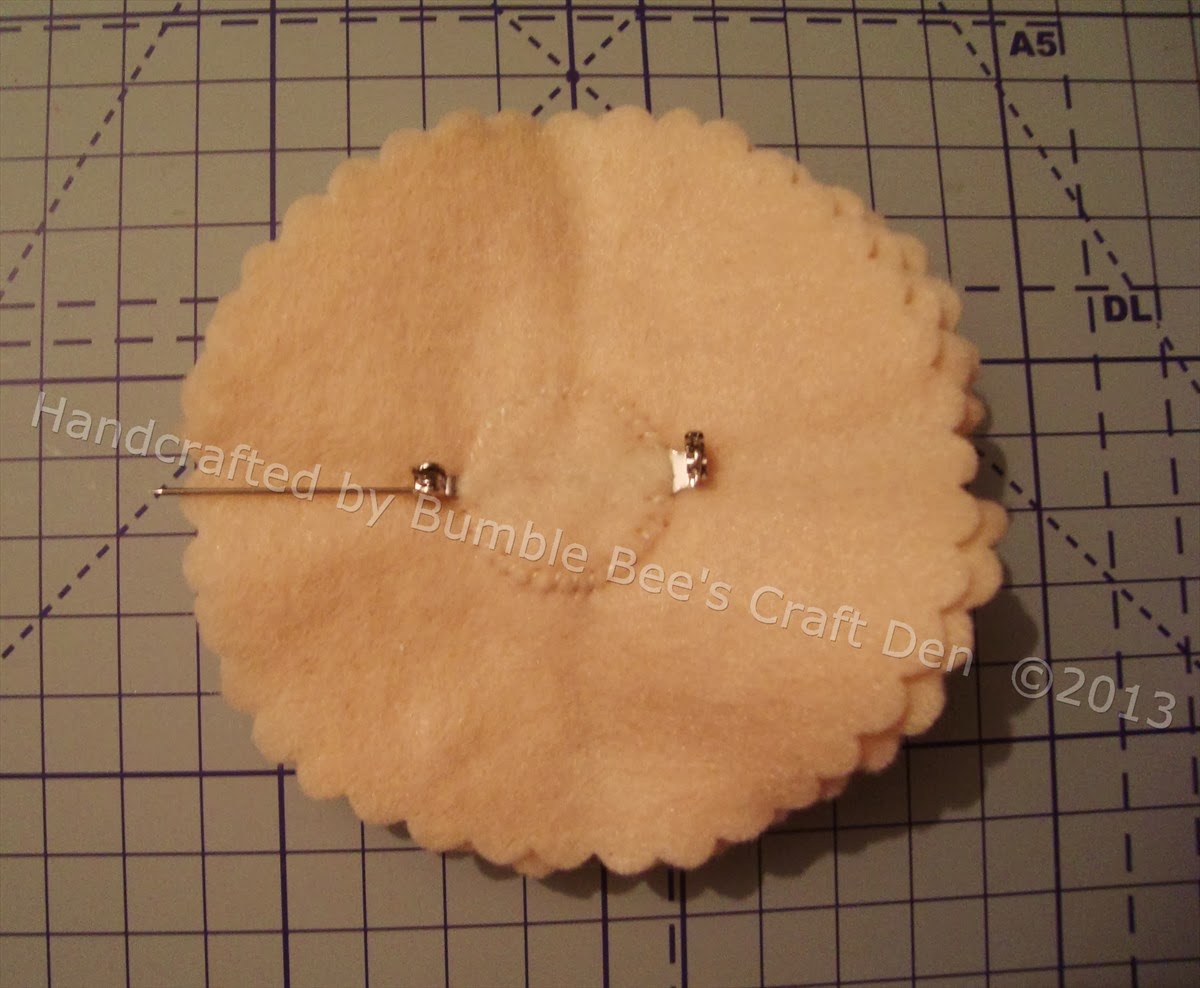
Now you just need to fix a brooch back on it and it's ready to wear! I have sewn on the brooch back as I find this to be more secure than glue gunning it. I want it to last!

Now cut a small felt circle (mine was around 25mm), just big enough to cover any stitches and sew this on using a tiny over stitch.

Taadaa - your brooch is now ready to wear!!

Hope you find my instructions easy to follow, but if you have any questions, give me a shout!
Thanks
what a fab flower and so simple to make - thanks for sharing
ReplyDelete