Bumble Bee's Craft Den

I enjoy crafting and like to try my hand at different things. If there is anything that you see on here that you would like made, please feel free to contact me bumblebeescraftden@gmail.com or by going to my page on Facebook www.facebook.com/bumblebeescraftden. You can post on the wall or send me a message there. I appreciate any comments that people leave so please feel free to comment!!!

Sunday, 8 June 2014

Easy Mini Shabby Bunting

Good Morning!

The weather is looking promising today, I'm hoping Summer is here!!  With it will no doubt come BBQ's and tea parties!  So, with that in mind I decided to make use of some of the huge amount of lovely cotton fabric I have been collecting and make up some mini bunting.


I used an X Cut Bunting die to mark the fabric - I say mark as it wouldn't cut right through it!  I mananged to crack my cutting pad as well but I think that was not the dies fault but maybe a fault in the pad as it hasn't lasted very long and was always rather bendy.  The marking was better for me than drawing around a template onto th fabric as you don't get pen marks!  Even when I use those disappearing fabric pens I have trouble getting the ink off of the fabric - very time consuming and annoying!  So I used the die and cut over the imprint with scissors where the die hadn't cut.


Cotton fabric frays and can look tatty quickly if you don't stop the fraying!  I did try to use my sewing machine to go around the edges but because the flags were so small they got caught in the machine and the stitching looked too much on such a small flag!  My advice is to use something like a fray stop on the edges or clear nail varnish - it is time consuming if you have a large pile of flags but quite a relaxing job to do whilst watching tv!

I then used a glue gun (I have a fab new glue gun!!) to stick 10 flags to some natural jute string.  Voila - a string of pretty bunting!

Look how effective it is when you use several strings of it together!!


If you can't be fussed to make some - you can buy some on my Facebook page for £5 plus P & P or if you are not on Facebook, just email me bumblebeescraftden@gmail.com to buy some.

Any questions - just ask!

Wednesday, 4 June 2014

Hessian 'Home' Banner

Hello again!

I am on a blog roll this week!!

A while back I purchased a 5 metre roll of natural hessian and it has been in the parcel sack it came in ever since!  I decided to have a play with it yesterday using a banner die set from Sizzix that I bought recently.  Here is the set of dies that I used


This is the result!


I really like it but then I do love the look of hessian anyway!!  I think in the US you call it burlap but if you go to a fabric shop in the UK and ask for that they look at you blankly!

Now the only problem with hessian is that it frays very easily!  To prevent this you can either do a nice zig zag around the edge with your sewing machine or you can do what I did and smear a pva/tacky glue along the edges on the back side of it.  It will dry clear and should harden the edges so that they don't fray.

I then used white acrylic paint to paint a block in the middle of each one.  For the lettering I made a stencil for each letter.  I just printed the letters out onto normal copy paper and used a pencil to go around the outline, then turned it over, put some stiff card underneath and scribbled over the outline on the back of the copy paper.  This transferred the outline onto the stiff card.  I then just went over the outline with my pencil and then cut it out using a craft knife.  With the 'O' I had to keep the little middle circle bit so that I could place it in the cutout when I was painting the letter.  Otherwise I would had just painted a circle and not an 'O'!  I then positioned the stencil over the white painted block on the hessian and painted the lettering onto each flag.

Lastly - I folded over the top of each flag and then used a glue gun to attach some natural jute string to it.

I am pleased with it and although it takes abit of time waiting for glue and paint to dry, I think it is worth it!

This banner is for sale over on my Facebook page Bumble Bee's craft Den for £8 plus postage, so if you want it, please head on over there!

Thanks for reading my post!

Tuesday, 3 June 2014

Beautiful Peonies

I was given these gorgeous Peonies yesterday and they are so beautiful that I thought I would share them with you! 


We have a local plant swap group and I had lots of extra lupin plants that we grew this year from seed, so I offered them on the plant swap.  One lady that came for some brought me a little posy of Peonies from her garden.  The colour is such a deep rich maroon colour and they have a lovely light fragrance.  I love the ball shape of them and today they have opened up even more.


They look so nice on my little shelf unit that I revamped the other day!


I wanted some pepper and chilli plants and luckily I was able to swap the lupins to get some!

Plant Swap groups are great - people in my area are very enthusiastic and keen to grow new plants and if we grow too many of one plant it is great to be able to swap them for something else.   We have set up a group on Facebook.  If you don't have a local Plant Swap group why not set one up on Facebook!  As well as getting some nice plants, you will get to know lots of people in your area!

Hopefully, this year, my area will have lots of people growing vegetables and flowers.

Another good place to look out for some bargain plants is B & Q - they had lots reduced last weekend.  Some of them just needed watering and were reduced to 20p!!    I also saw trays of 6 Geraniums and Begonias in Poundland today!  You don't have to spend much to get your garden looking pretty!

Monday, 2 June 2014

Shabby Ornate Frame Revamp!

Hello!

I am still painting everything in sight!!  This ornate frame in Poundland caught my eye - it is plastic and very lightweight and they had them in white and black in 3 different sizes.  I wondered if I could paint it and jazz it up as I am not keen on black and white colour schemes!  Here is the frame before I started.  I forgot to photograph it so have found a pic on the web of the frame - I will try and take a pic instore this week!


I bought the same size as the one above and for £1 they are ok but very light and flimsy!

Anyway, first of all I painted it a few times in a cream colour.  The paint went on but I needed 2 coats as the surface was shiny.  I then decided to put a vintage shade of green on top, this went on better and I was able to hold the frame up to the light to see any spots I had missed (the lightweight plastic was good for this!).  I gave it a couple of coats and then once dry I rubbed a little Briwax into it to keep the paint in place.  It rubbed the colour back in some places but this was ok as it gave a shabby, vintage look to it and also brought the cream paint through as well.  I then used some greeny gold Treasure Wax on the raised decorative parts and then some gold Treasure Wax on top of that.  This gave it an nice, aged look.  I am really pleased with the result and I don't think you would believe it was only a cheap £1 frame if you saw it!!

Now the only thing I would say is that the stand on the back is not fixed on very well and fell off!  I could not get it to go back on so decided to paint the inside of it black and make a framed blackboard instead!

Here is the finished result!


Hope you like it!

Tuesday, 27 May 2014

A Little Bit of Shabby Chic!

Oooh I've got the Shabby Chic bug!!  I blame my sister, she has started this off!!  I've been on the look out for anything that I can paint and shabby up!  I am only starting with small pieces for now though!

I picked up a little corner shelf unit at a car boot sale for a bargain £1 and thought it would be great to paint up!  I will be able to take it along if I do a craft fair as it is small enough to sit on a table corner nicely!  I sanded it down and painted the spindles in a chalky paint and then sanded it again and then waxed it to get a smooth finish.  For the shelves I just sanded them down and got rid of a few minor water marks and then waxed it and left it natural.  I am really pleased with it - here is a before and after photo!


I made the frame in the photo also - well I tarted up a plain old wooden frame!  I made a lovely puffy, satin flower and a little bit of bunting to decorate it after I had painted and waxed it.  I also distressed it alittle to give it a vintage look.


Hope you like them both as much as I do!

Thanks for stopping by!

Friday, 2 May 2014

A Heart Banner and other bits and pieces!

Ooh I've not blogged for a couple of weeks, I've not been up to much and not feeling very crafty!!   I have made a few things though which I will show you in a bit!

I'm also buying different glues to test them out as I am trying to find the best glue to stick leather.  If anyone has any recommendations please let me know!  Today I have bought Beacon's Tacky Glue and Aleene's Leather and Suede Glue and the other day I bought Bostix Leather Glue.  I know alot of people love glue guns but I just don't feel the love there and never find they stick things properly - maybe I just need to buy a better one that gets hotter!

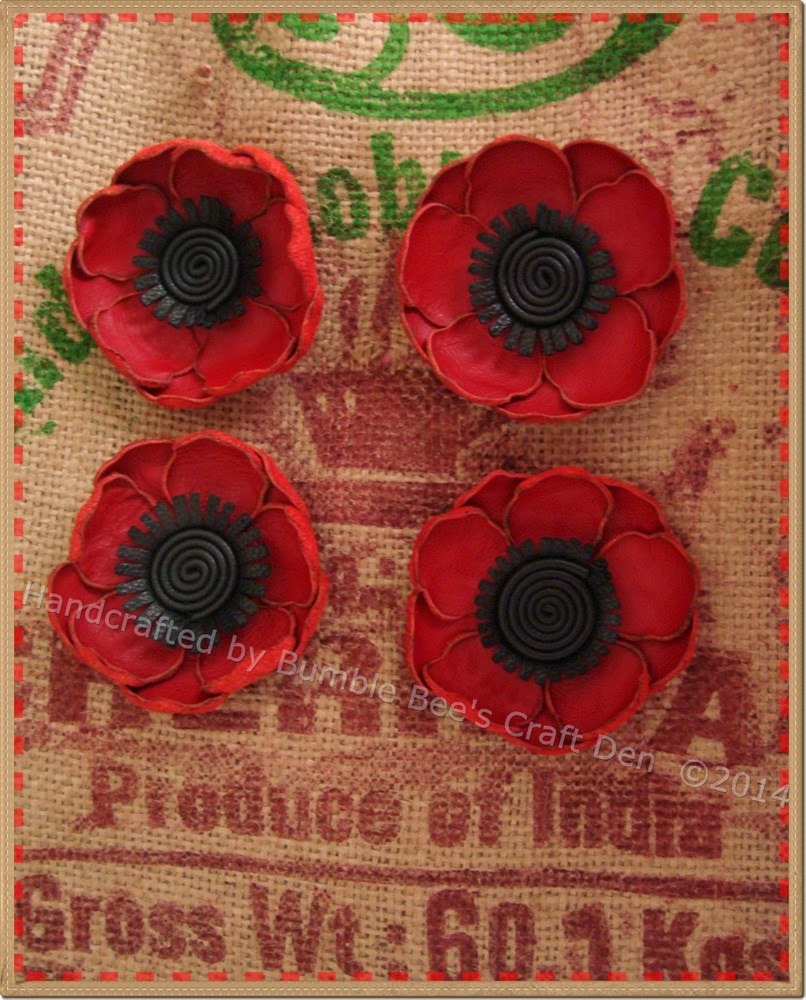
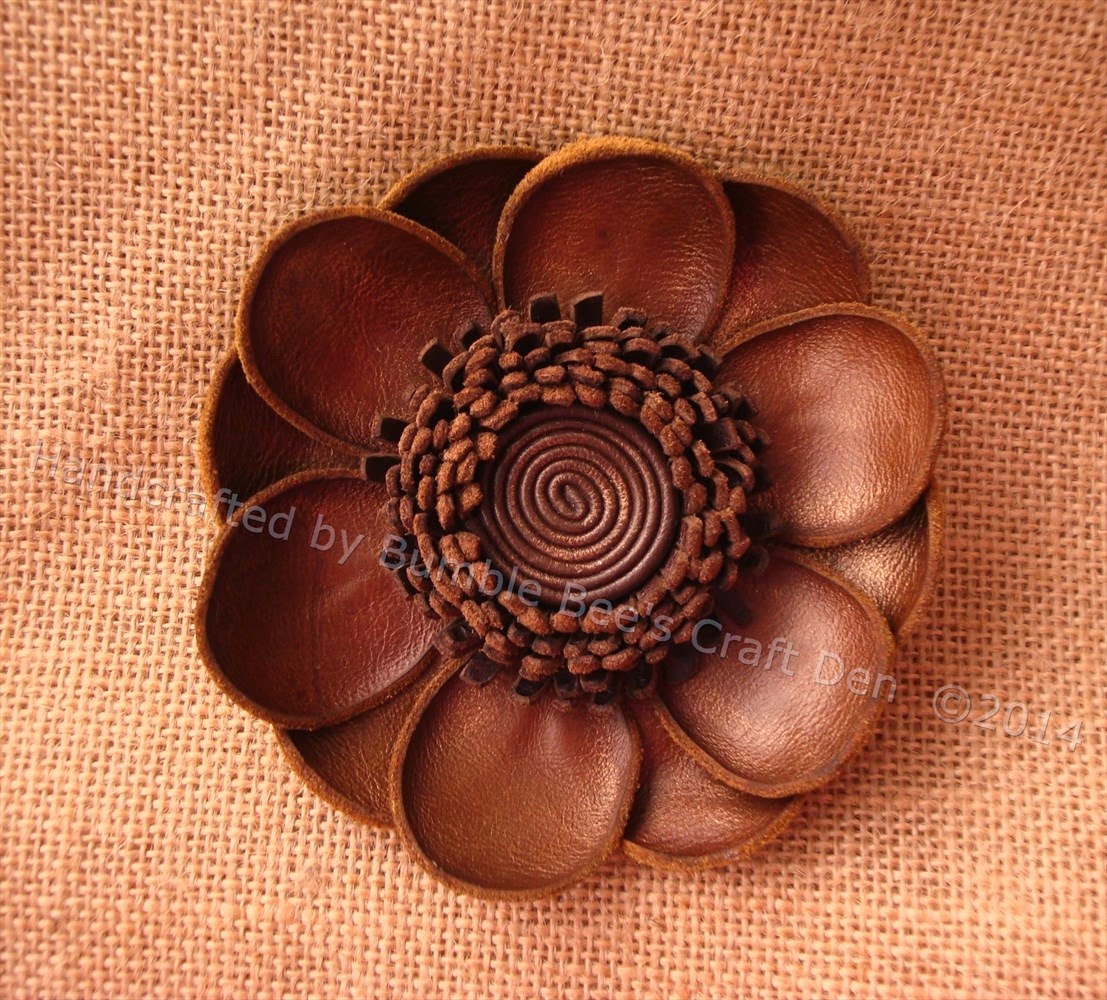
So I've made a few more leather flowers - I made some smaller leather poppies and a couple of other leather flowers.


This one is a sunflower - I absolutely love the bright colour of this leather!!

 
On the flower below, I rubbed Treasure Wax into the leather and then polished it with a soft cloth.  The metallic in the wax catches the light nicely although hard to see it in the photo!


I also wanted a heart banner in brightly coloured cotton fabrics and couldn't decide whether to a have a go with my sewing machine (I'm not very confident on it!!) or hand sew one!  I decided that handsewn would give it a more shabby chic look!  It was more time consuming but I am pleased with the result!  I added some little red satin bows in between the hearts and this stopped them slipping along the jute string.


I have a nice large jar of dried lavender from my garden so I made a cute little Scottie dog and stuffed him full.  He smells lovely!  I also stitched in one of my homemade tags!


I ordered a new stamp from Malaysia and it arrived this week!  I wanted something that I could stamp on the top of card to put my brooches on, I think it makes them look more professional!


This is what it looks like on the brooch card


It's a bank holiday weekend here in England, who knows we may be lucky and get some sun.  I am hoping to go to a Vintage Fair tomorrow.  Whatever your plans for the weekend, have a good one!